Night riding: skills, tips and tricks for mtb riders and leaders

Perhaps this night riding video from Cycling UK Instructor Trainer Olly Townsend will help explain?
Alternatively, you could consider that riding in the dark simply doubles the number of trails available to you (i.e. same trails, once in daylight, once in the dark) or even that night riding is life enhancing.
So whether riding with friends, or leading a group, use these simple tips to make everyone’s experience is fantastic.
Lights
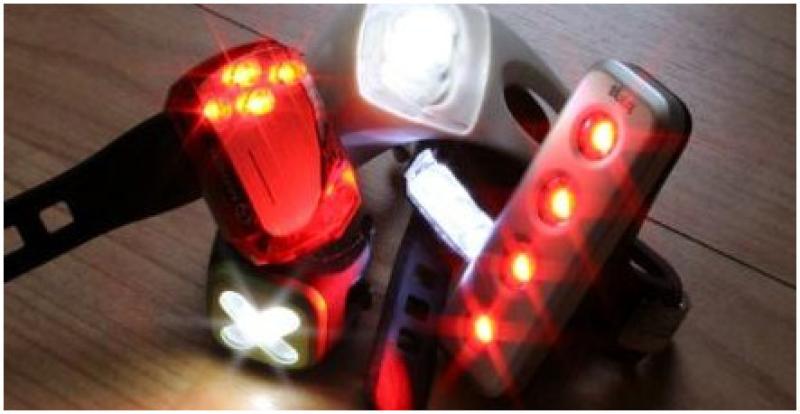
When mountain biking, using a bar mounted light as your main source, and an additional (usually lower powered) helmet mounted lamp provides the flexibility to both see deeper in the shadows created by the main beam and round corners.
Being able to switch lights with gloves on is a key aspect, so consider this if choosing replacement units.
And rear lights remain essential for the little road sections that join up the bits you really want to ride and so that following riders can see where you've gone. Again, these are best knocking off their main setting and reducing down a little when riding with others. Rear lights are designed to be seen from a long way off by vehicle drivers who have many other things competing for their concentration as well, so your mate riding just behind you only needs a low output red haze to know you are there.
Making the most of your lights
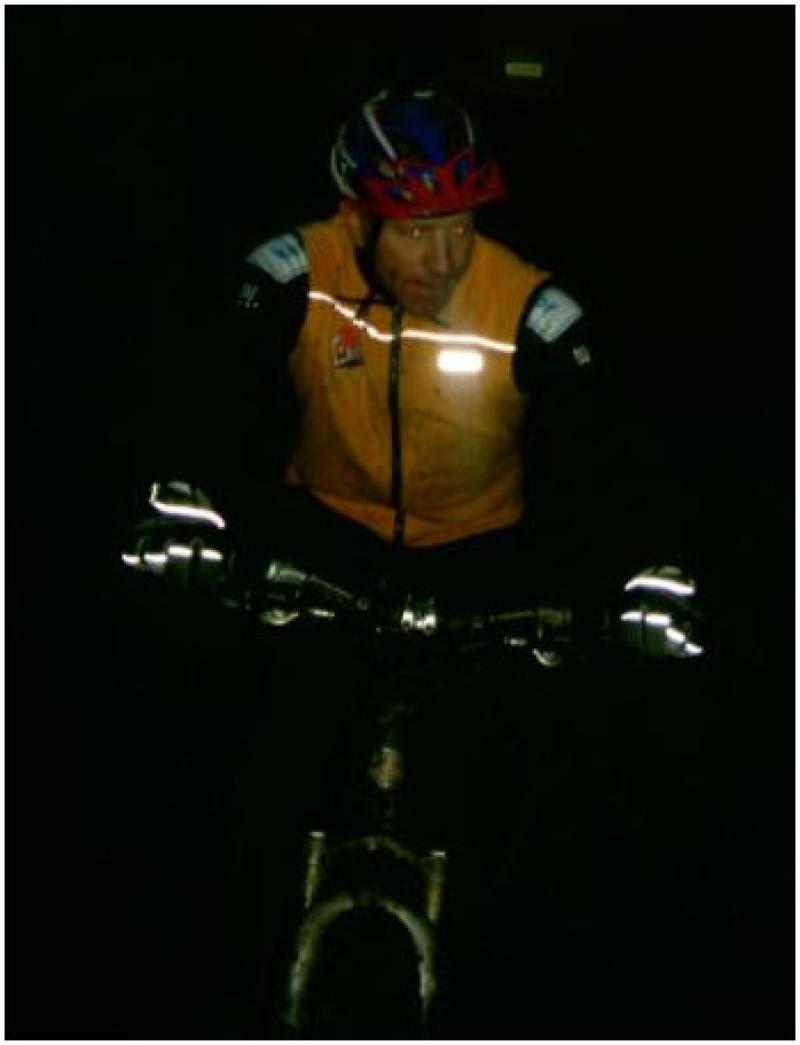
You should also bear in mind that full power is often brighter than a car's full beam, so oncoming traffic appreciates you ‘dipping’ your light to medium or low output.
It’s not often you need a lot of light when you are stopping waiting for your riding buddies to catch up, so turn all bar one light off (so at least you can still see something) and save the batteries for later in the ride.
When you are stopped, bear in mind that head torches make conversation difficult. Not because you can’t talk, but because looking at your friends simply blinds them, so remember to turn your head torch off, or look at the ground when having a chat. You can also appreciate the full beauty and mystery of the night sky with less artificial light around!
Be aware of the output of your own lights in comparison to everyone else’s. Light output is not a competition, and in fact can be unbelievably off-putting when the lights from the rider behind you cast a great shadow precisely where you are riding, so don’t be afraid to ask them to just turn them down, or let them ride past and then steal the vision available from their super trouper.
Route choice
Riding in the dark makes the riding of any technical section immediately harder than in the day. It takes a good while (most of the winter in fact!) to overcome this, so don’t set yourself a task to ride the most demanding trails you have. Ease yourself in as the nights start earlier and downgrade your expectations. The feel of riding a trail or bridleway around blue grade is pretty similar to that of a red trail in daylight.
On the subject of selecting your route, remember that you will inevitably ride and travel more slowly than in daylight. You are unlikely to improve your Strava times during darkness!
Further, the need to regroup regularly is important. It's not that you would ever leave anyone behind of course, and you may have good vision of their location due to their light (depending on the environment you are riding in) but remember that riding is a social thing and feeling isolated in the dark doesn’t feel very sociable. For both these reasons therefore, reduce your intended route distance.
Ensure that your route doesn’t exceed your lights battery capacities. If you only have 2 hours of battery life, it's pretty obvious that a three-hour ride isn’t going to end well! In fact you should allow at least 25% spare – and that is after taking into account extra time and slower riding associated with night riding.
Lights as discussed above are great devices, but they can fail or run out of battery, and of course other things can happen: punctures or other mechanicals, rain or snow (it is heading for winter after all) so ensure that you have some good route contingencies – additional options to turn home early or shortcuts. Ideally these should be less challenging so they can be ridden with less light (a head mounted lamp, should your main light fail, for example), and don’t forget that these could include the road!
As a reserve, you should have a map with you. You can print many electronic maps for ‘night vision’. These have a red background rather than a white one so they reduce the glare from the map when looked under torch light
Riding skills
This technique is particularly valuable as a rider and albeit it isn’t (hopefully) entirely by feel – you should still have some light and vision), it aids your body's abilities to cope with the unexpected in daylight too.
So areas to focus on here include remaining alert but loosening up your limbs. Holding on tight simply reduces you to a rigid structure that bounces along the trail, whereas what you are looking for is to maintain your head's line of travel to be as smooth as possible. Your bike, arms and legs are there to absorb and guide and to do this by feel means being flexible, adaptive and to accept positive ‘input’ motion (i.e. the trails impact on your bike and you).
Obviously, if you are increasing the level of riding by feel, you would assume that you will be reactive. Being reactive, however, means that (in real terms) it is too late and in fact you should be proactive. Being proactive means being ready to cope with the trails' impact. Obviously this is guided initially by what you see and then what you can feel. Key areas to think about then include:
- Keep your head up – look where you are going and use your head lamp to maintain your longer vision – a few seconds ahead, round to the exit of the corner or at what is after the obstacle, as well as the obstacle itself.
- Drive your direction by your head, shoulders and hips. Corners are ridden best by your body pushing your bike round (simply by turning into them) – not by you turning your bars!
- Lose the white knuckles, bend your elbows and knees a little, keeping them flexible and absorbing.
- When not pedalling, just raise yourself a couple of centimetres above your saddle, keeping your feet and pedals level, which aids the absorption of bumps and lumps. For the most part, you would just be hovering above your normal seated position, but being out of the saddle also just helps you move your bike underneath you. Remember that its not you that moves backwards and forwards on your bike, but your bike that changes its angle underneath you, whilst you maintain a similar body position relative to the ground.
- As always, drop your heels and wrists to help drive and push your bike through anything it encounters, rather than the lump stopping or slowing your bike and pitching you up or forwards.
Group Management

Key areas you should be aware of as a Cycling UK Leader:
- Match the route to the group – you are adding new ingredients to the mix here, so don’t assume that your participants will be able to do what they can normally do in the daylight. Downgrade the technicality of the route (e.g. red grade equivalent to blue for a Technical Leader; blue equivalent towards green for a Trail Leader)
- Add in extra time – new lights can be a faff, and need setting up correctly, explaining how they work and dealing with them going wrong extra time needs to be built in
- Ensure that you remain within your specification of limits, as well as height, remoteness and trail technicality, you should be aware of guidance on the four areas of seasonality – when two areas of the four (temperature, wind, precipitation and visibility) are out of spec, then you really need to consider the suitability of the ride and the group. As it is dark, then visibility is immediately applied and it only takes one further condition to apply for the guidance to kick in.
- Only use trails and routes that you know well. With intimate knowledge of what is coming up, route contingencies and timings, you can lead your ride with confidence. Navigating in the dark (because you haven’t pre-ridden properly) is time consuming, difficult and inappropriate for led rides!
- Be tight on your late back procedures. Should something happen during the ride, you may be delayed and having your base contact call emergency services looks a bit daft if someone in the group has just had a puncture. However, you should reduce the gap between your expected return time and your EAT (Emergency Action Time) from that used in daylight hours (around 45-60 minutes is usually appropriate) as you don’t want to be stuck out there for a long time, in the event of a real situation. As always, ensure that you let your base contact know of your return – including if you stop off at the pub on the way back!
Emergencies
The best way of dealing with emergencies is not to have them in the first place, so good planning, and whilst you are out there riding appropriately is a good idea. The obvious and standard principles apply as for riding in daylight – check your bike beforehand; carry stuff with you; have a map; tell someone where you are going and when you will be back (your base contact).
As well as these, and the best practice covered in the previous sections for riders and leaders, you should also consider:
- Night riding is best with others. It is not a good idea to ride in the dark by yourself. Apart from it being very scary (it's only a matter of time before a horror night riding movie is generated!), the possibility of an incident is higher, and the possibility of someone else being out there and coming across you to help before the following day is minimal or non-existent. As a result, avoid splitting up too; staying in a group is a good idea, and much more social.
- Have a spare light, battery or light capacity. At the very least this should be sufficient to get you home on the road.
- Learn to light share. Often modern lights don’t all need to be blazing on the easiest terrain, and you can see enough of the trail in front of you without your light when riding next to someone with one, especially on easy terrain. This technique is also critical in the event of batteries running low, or a light failure.
- Know where you are, how to deal with mechanicals, incident or injury and prevent further disaster.
- Be patient – if others have to faff with their lights or something else, when the riding gets tough or people need to be back earlier than you, then that is fine. After all, it could be you next time!
Summary
So despite the approach of potential SAD (Seasonal Affective Disorder), make the most of the darker nights with a fresher feel and a new approach to riding. As they say a change is as good as a rest, and riding in the dark is most definitely a change to riding in the light.
We at Cycling UK, can heartily recommend the experience, camaraderie and potential to visit the pub afterwards. So we will see you out there (or at least see your light trail...!)